Dashboard Sections
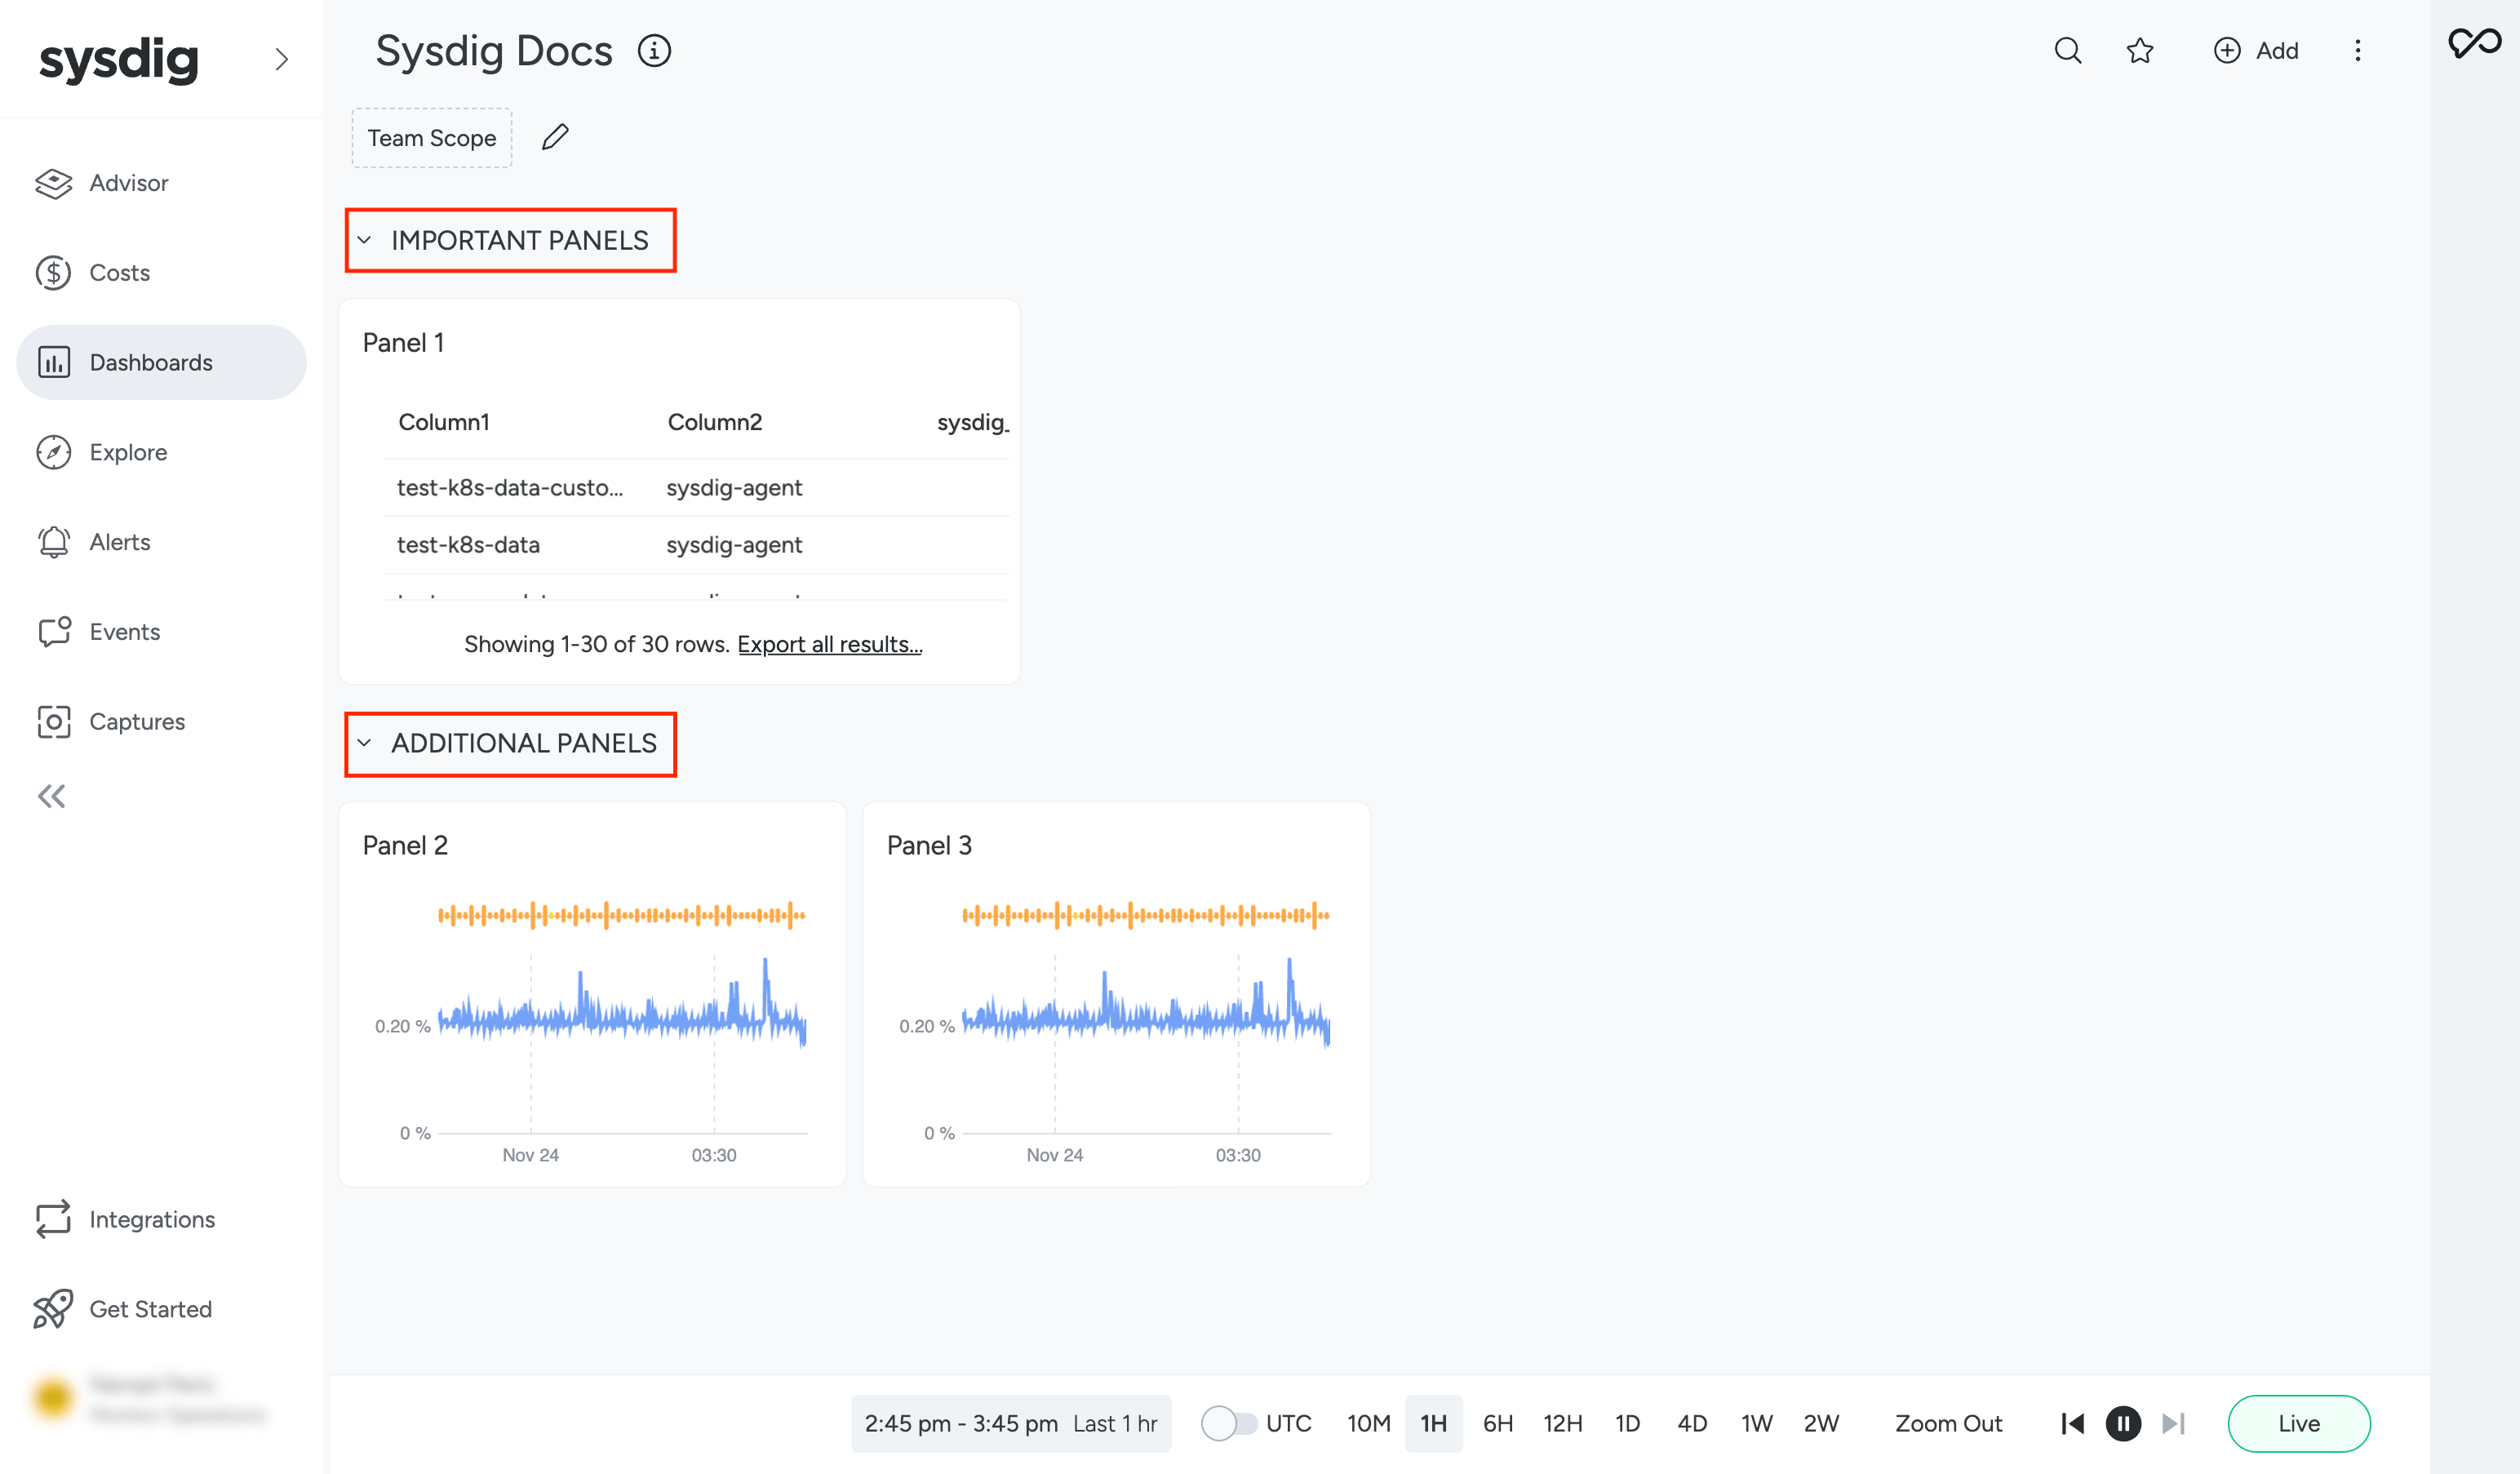
You can use dashboard sections to group related panels and organize large dashboards more effectively. Sections can be expanded or collapsed. When collapsed, the panels inside the section remain hidden. Expand a section to view all its panels.
You can also create, manage, and organize dashboard sections using Dashboard Manager, if you have sufficient permissions.
Create a New Section
To create a new section:
- Open an existing dashboard or create a new one.
- In the top right corner, select Add.
- From the drop-down menu, select Add Section. A new section named NEW SECTION appears at the bottom of the dashboard.
Add Panels to a Section
Add an Existing Panel
To move an existing panel into a section:
- Select the panel and drag it into the target section.
- Drop the panel in place.
- When prompted, choose whether to Save layout, Cancel, or use one of the Auto layout options to reorganize the panels.
Add a New Panel
To add a new panel directly to a section:
- Open the three-dot menu next to the section name.
- Select Add Panel.
Rename a Section
To rename a section:
- Click the section name. The inline editor opens.
- Type in the new name.
- Select the checkmark on the right to save your changes.
Delete a Section
To delete a section:
- Open the three-dot menu to the right of the section name.
- Select Delete.
- If the section contains panels, choose one of the following options:
- Remove all panels: Deletes all panels along with the section.
- Move to ungrouped area: Moves the panels to the ungrouped area before deleting the section.
- Move to another section: Select a target section and move all panels there before deletion. If the section has no panels, a simple confirmation dialog appears.