Scheduled Reports
End of Life Notice: The Sysdig Legacy Scanning Engine will reach its End of Life (EOL) on December 31st, 2024. After this date, it will no longer be supported or maintained. Please upgrade to our New Scanning Engine before December 31st, 2024 to ensure continuous service and support. For assistance, contact our support team or your account representative.
Image Scanning Reports [BETA]
Overview
Enable this feature from the Sysdig Labs setting on the User Profile page. Once enabled, it will replace the Reporting v2 UI in the product page. (Reporting v2 API endpoints will still be available at this time.)
Image Scanning Reports has moved from a synchronous model to an asynchronous mode, in which you schedule the reports you need and then receive them through notification channels.
Only email, Slack, and webhook notification channels are supported at this time.
The new version also includes:
A preview function to check report structure in the UI
A more advanced query builder
Extended set of data columns (i.e. CVSS base score and vector) and extended set of available filters (i.e. package type)
Asynchronous Reports can be run on vulnerabilities and on policies.
There are two different types of asynchronous reports:
Vulnerabilities: Vulnerabilities, package and image data
Policies: Images and scanning policies data
Create Report Definition
Log in to Sysdig Secure with Advanced User or higher permissions, and select
Image Scanning|Reports.Note: For Runtime Reports, the runtime scope must fall within your team’s designated scope. (For static reports, there is no scope requirement.)
From the Reports list page, click
Add Report.Define the Report
ConfigurationandDataas described below. Optionally,Previewthe selected Data.Click
Saveand review the entry on the Report list page.
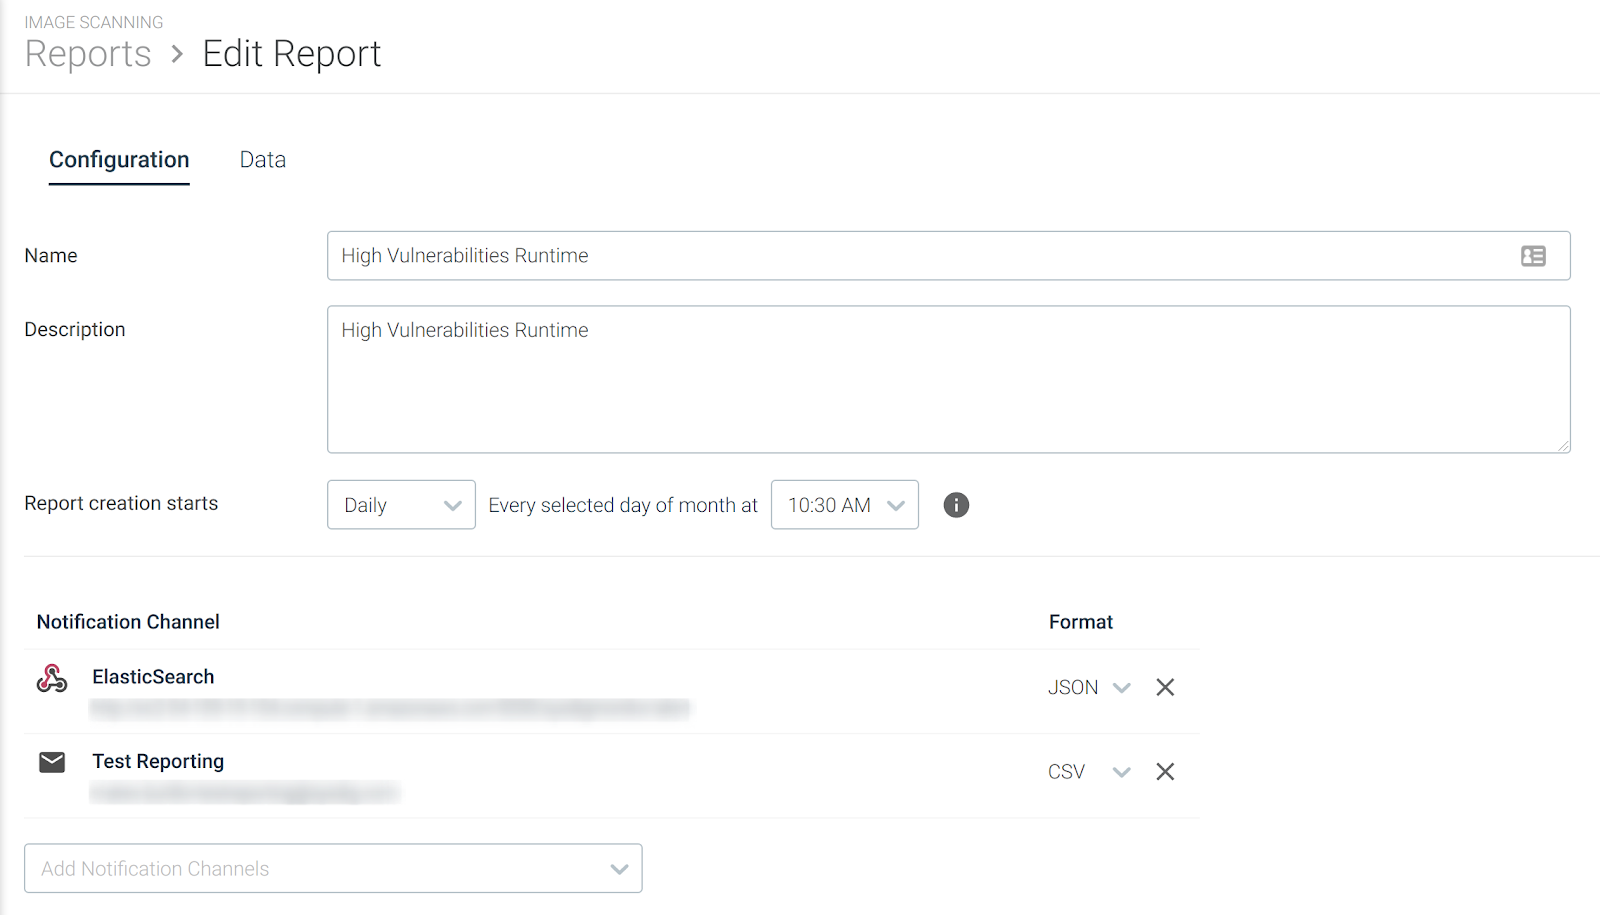
Define Report Configuration
Reporting creates a point-in-time snapshot of the scanning results state whenever the process starts, regardless of reports frequency.
Here you define the report name, description, schedule, and the notification channel(s) used to deliver the report.
Define the following properties:
NameandDescription: Choose a meaningful title and descriptionSchedule- Report creation starts:Choose the cadence (daily, weekly, monthly) and the time (by half-hour) at which you want this report generated.
The schedule determines when the report data collection begins. As soon as evaluation is complete, you will receive a notification in the configured notification channels.
Notification channel:The options presented in the drop-down list correspond to the notification channels you have set up in your environment.Since reports are typically large, the actual data is not sent to the notification channel; you receive a link to download it. You must be a valid Sysdig Secure user (Advanced User+) to access the link .
Define Report Data
Here you define the data to be included in the report.
Select from the options:
Type:Choose whether to report onVulnerabilitiesorPolicies.VulnerabilityVulnerabilities, package and image dataColumns:
Vulnerability ID
Severity
Vulnerability type (OS / NON-OS)
Vulnerability feed link
Fix version (if any)
Image name
Image tag
Image added date (to the Sysdig backend)
Package name
Package version
CVSS v2 vector (if any), CVSS v2 base score (if any), CVSS v3 vector (if any), CVSS v3 base score (if any)
Image ID
Vuln exception (Whether you have configured an exception for this vulnerability)
Runtime scope (only if configuring a runtime scope)
Policies:Images and scanning policies dataColumns:
Policy name
Policy evaluation (pass / fail)
Image name
Image tag
Image ID
Image added date (to the Sysdig backend)
Last evaluation date (against this scanning policy)
Runtime scope (only if configuring a runtime scope)
Scope:ChooseRegistryorRuntime.Registry:Report on the images belonging to a registry and present on the Sysdig Secure scan results. The Registry field is mandatory (i.e. docker.io), repository and tag are optional, if you want to narrow down the report to a specific set of images.Runtime:Report on the runtime images present on the Sysdig Secure scan results. You can selectEntire infrastructureor scope down using Sysdig runtime scope labels (i.e. kubernetes.cluster.name = mycluster).Note that the runtime scope must fall within your team’s designated scope, and only those options will be displayed.
Condition:(Optional) You can configure one or more conditions that will filter the data that you deem relevant for the report.Vulnerability Report Filters
Vulnerability type (OS/Non-OS)
Vulnerability ID
Vulnerability added to feed (x days ago)
Package name: supports startswith, i.e. ‘cur’ will match ‘curl’
Severity: supports exact match, equals or greater than and equals or lower than
CVSS v2 score greater than ‘value’, one decimal place supported
CVSS v3 score greater than ‘value’, one decimal place supported
Feed source (multi-select)
Fix Available (yes/no)
Severity (critical, high, medium, low,. negligible, unknown)
Package type (i.e. rpm, apk, python)
OS name, i.e.
debian, supports startswithImage added to the Sysdig scan results ‘more than’ or ’less than’ X days ago
Vuln exception (true/false)
Policy Report Filters
Policy: Filter by images evaluated by a specific policy (i.e. NIST scan policy)
Policy evaluation (pass/fail)
Last evaluation ‘more than’ or ’less than’ X days ago
OS Name, i.e. ‘debian’, supports startswith
Docker file available (yes/no)
Image added to the Sysdig scan results ‘more than’ or ’less than’ X days ago
Preview or Clear
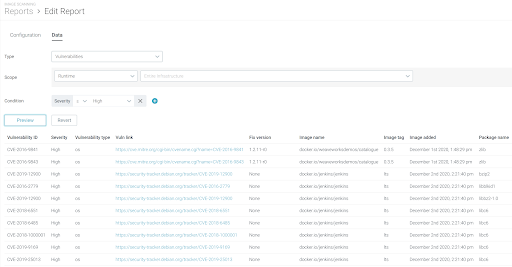
Preview offers a quick sample of the rows that will be obtained given
the current report configuration. Preview can be used to verify format,
filters and expected output. Take into account that preview data,
although extracted from the real environment data, is too reduced to be
significant.
The Clear button will reset the filters.
Sample Use Cases and their Previews
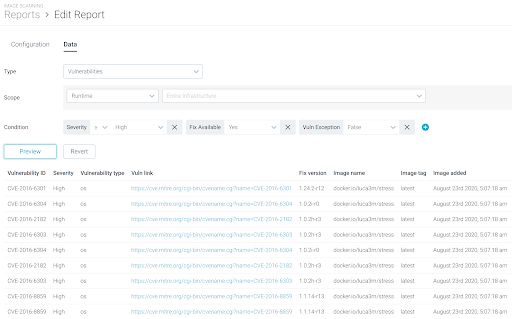
Show me all Vulnerabilities in my Runtime with High Severity and a Fix Available, which are not on an Exclusions list.
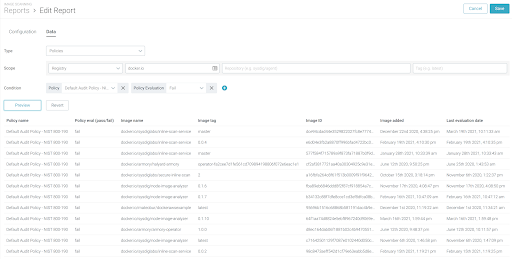
Show Images in my
docker.ioregistry failing the NIST 800-190 scanning policy.
Manage Reports List
Enable/Disable:By default, all report definitions are enabled. To disable, toggle the button by the Name on the List view. The report definition will be saved, but the report will not be run. It can be re-enabled at any time.Use the
More(three dot) menu to:Edit Report DefinitionDuplicate the Report DefinitionDelete Report Definition
Instrumenting Reports
From email notification:
If you have configured email as a notification channel for reports (see sample screenshot) :
then click the button to automatically download the report, provided your browser contains a valid Sysdig Secure user session. If no session is found, you will be redirected to the login screen.
From a webhook or Slack notification:
These methods will also send a link to the report, which you can download programmatically using the your Sysdig API token, for example:
curl -L -H "Authorization: Bearer <my_API_token>" https://<Sysdig-SaaS-URL>/api/reporting/v1/scanning/reports/1q8gX9ErBwpDdNZKDbYm5Zzzyyxxx -o report.zip


