Integrate with Container Registries
End of Life Notice: The Sysdig Legacy Scanning Engine will reach its End of Life (EOL) on December 31st, 2024. After this date, it will no longer be supported or maintained. Please upgrade to our New Scanning Engine before December 31st, 2024 to ensure continuous service and support. For assistance, contact our support team or your account representative.
ECR Registry Scanning
ECR Registry Scanning automatically scans all container images pushed to all your Elastic Container Registries, so you have a vulnerability report available in your Sysdig Secure dashboard at all times, without having to set up any additional pipeline.
An ephemeral CodeBuild pipeline is created each time a new image is pushed, which executes an inline scan based on your defined scan policies. Default policies cover vulnerabilities and dockerfile best practices, and you can define advanced rules yourself.
Usage Steps
Deploy: Deploy Sysdig Secure for cloud on AWS and choose the
ECR Image Registry Scanningoption.Insights becomes your default landing page in Sysdig Secure.
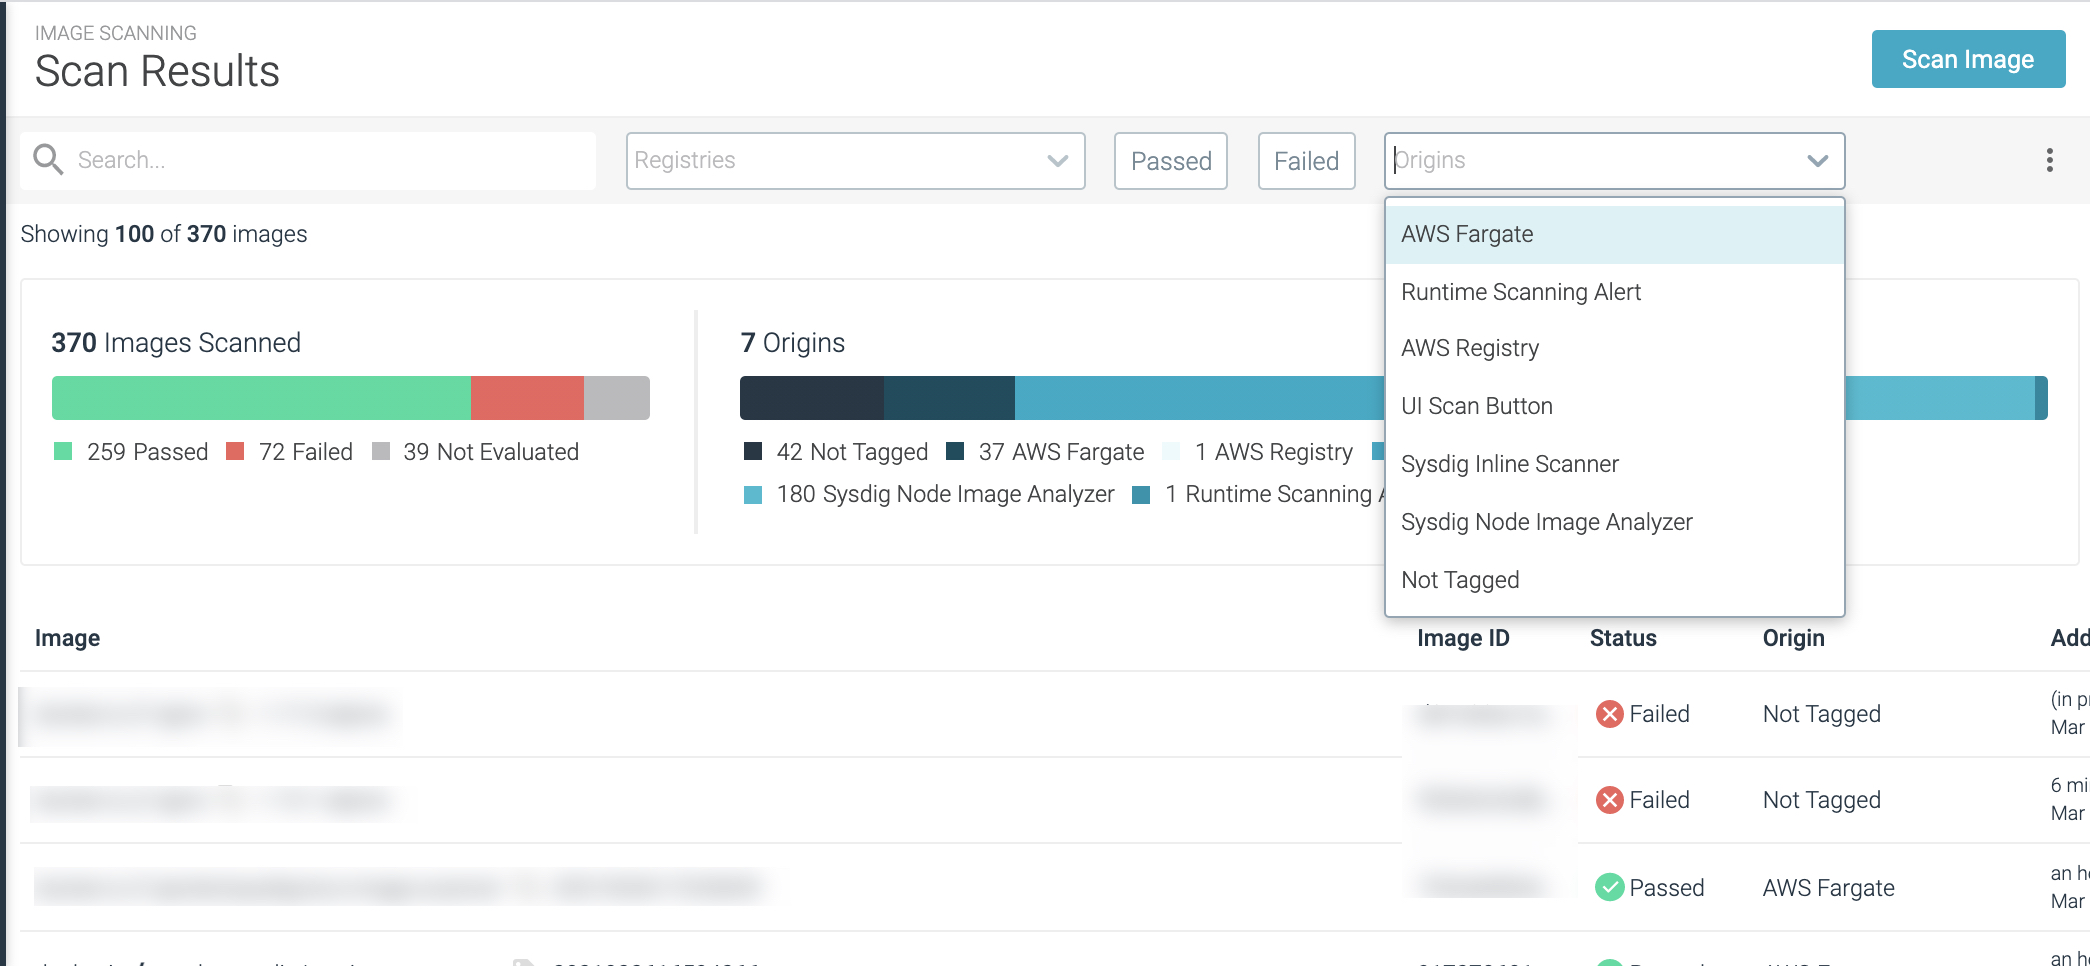
Review the Scan Results to confirm that AWS Registry appears and use the feature.
Manage Registry Credentials
Registry credentials are required for Sysdig Secure to pull and analyze
images. Each of the registry types has unique input fields for the
credentials required (e.g., username/password for docker.io;
JSON key for Google Container Registry).
The login requires at least read permissions.
Add a New Registry
From the
Image Scanningmodule, selectRegistry Credentialsand clickAdd Registry.The New Registry page is displayed.
Enter the basic identification information:
Registry Name:Self-definedPathThe path to the registry, e.g.docker.ioNOTE: In some cases, you may have a registry with various namespaces, each with different permissions.
You can use a partial path name with a wildcard (*) to subsume all those credentials into the single set of credentials you configure on this page.
The wildcard indicates that any image located under the partial path inside the registry (
/rg-2-1erin the screenshot) will use the registry credentials configured in step 3, below.TypeSelect from the from the drop-down menu.Configure the registry-specific
credentials(based on theTypechosen).Docker V2 There are many Docker V2 registries, and the credential requirements may differ.
For Azure Container Registry:
Admin Account
Username: in the'az acr credentials show --name <registry name>'command resultPassword: The password or password2 value from the'az acr credentials show'command resultService Principal
Username: The service principal app idPassword: The service principal password
Google Container Registry:
JSON Key
(Primarily for OpenShift clusters): Add an
internal registry address.The recommended way to run an image registry for an OpenShift cluster is to run it locally. The Sysdig agent will detect the internal registry names, but for the Anchore engine to pull and scan the image it needs access to the internal registry itself.
Example:
External name:
mytestregistry.example.comInternal name:
docker-registry.default.svc:5000
Sysdig maps the internal registry name to the external registry
name, so the Runtime and Repository
lists will show only
the external names.
Optional: Toggle the switch to
Allow Self-Signedcertificates.By default, the UI will only pull images from a TLS/SSL-enabled registry.
Toggle
Allow Self-Signedto instruct the UI not to validate the certificate (if the registry is protected with a self-signed certificate or a cert from an unknown certificate authority).Optional: Toggle the
Test Credentialsswitch to validate your entries.When enabled, Sysdig will attempt to pull the image using the entered credentials. If it succeeds, the registry will be saved. If it fails, you will receive an error and can correct the credentials or image details.
If enabled, then enter the
test registry pathin the format :registry/repo:tagE.g.
quay.io/sysdig/agent:0.89Click
Save.
Edit a Registry
From the
Image Scanningmodule, selectRegistry Credentials.Select an existing registry to open the
Editwindow.Update the parameters as necessary and click
Save.
The registry Type cannot be edited.
Delete a Registry
From the
Image Scanningmodule, selectRegistry Credentials.Select the existing registry to open the
Editwindow.Click
Delete Registryand clickYesto confirm the change.
Next Steps
When at least one registry has been added successfully, it is possible
to scan images and review scan
results taking advantage
of the Default scanning policy provided.

