Host Scanning
rpm, dpkg) or non-OS (Java packages, Ruby gems). This contrasts with all other Sysdig scanning tools, which are focused on container images, rather than the host itself. The analyzer component of host scanning works by inspecting the files on the host root filesystem, looking for installed packages, and sending them to the Sysdig backend.End of Life Notice: The Sysdig Legacy Scanning Engine will reach its End of Life (EOL) on December 31st, 2024. After this date, it will no longer be supported or maintained. Please upgrade to our New Scanning Engine before December 31st, 2024 to ensure continuous service and support. For assistance, contact our support team or your account representative.
By default, host scanning:
Is triggered every 24 hours
Includes a default list of directories that are scanned by the analyzer.
It is possible to configure the schedule and/or the list of directories to be scanned using the Host Scanning Configuration Options if needed.
The feature is installed using the Node Analyzer component and is currently available for Sysdig Secure.
Supported Operating Systems
Supported OSs:
Ubuntu 16.04, 18.04, 20.04, 22.10
RedHat Enterprise Linux 7, 8
Debian 8, 9, 10
Amazon Linux 2
Unsupported OSs:
RedHat CoreOS (currently not supported)
Google COS (this system does not have a package manager or standard packages and therefore cannot be supported)
Access Host Scanning
Follow the steps for the Node Analyzer: Multi-Feature Installation.
Log in to Sysdig Secure with at least
Advanced Userprivileges.
The results you can see in the Host Scanning list are affected by your user and team privileges.
Select
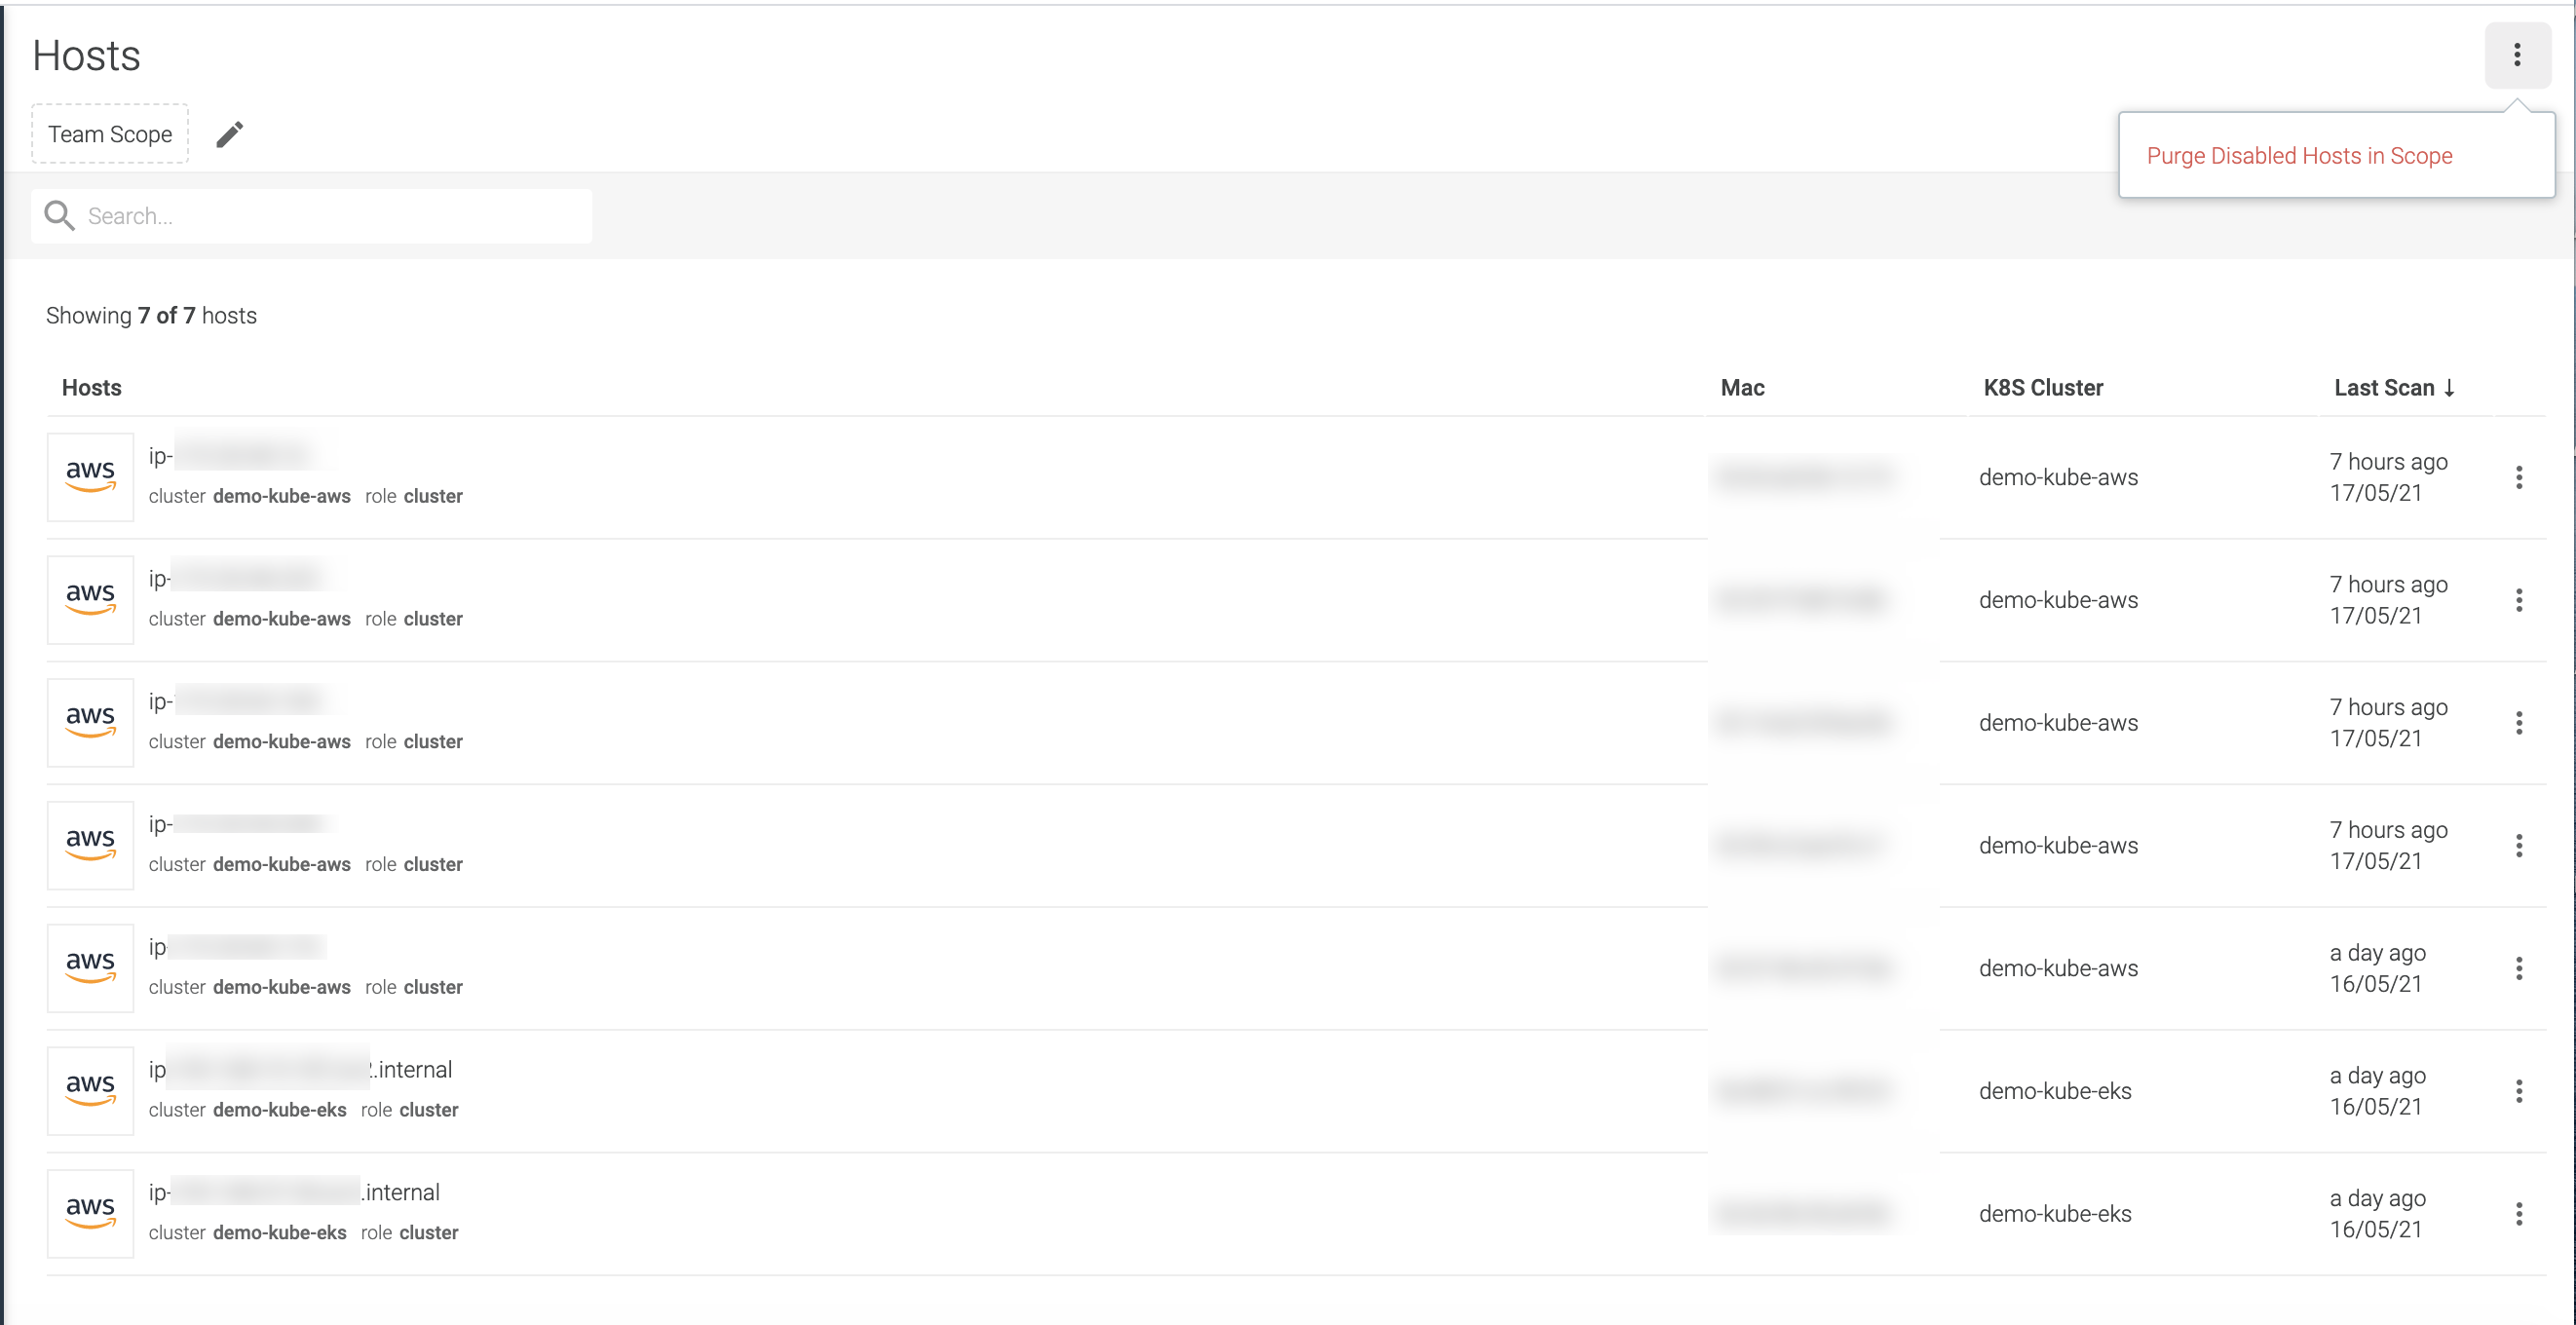
Scanning > Hosts. The Host Scanning list page is displayed.From here you can:
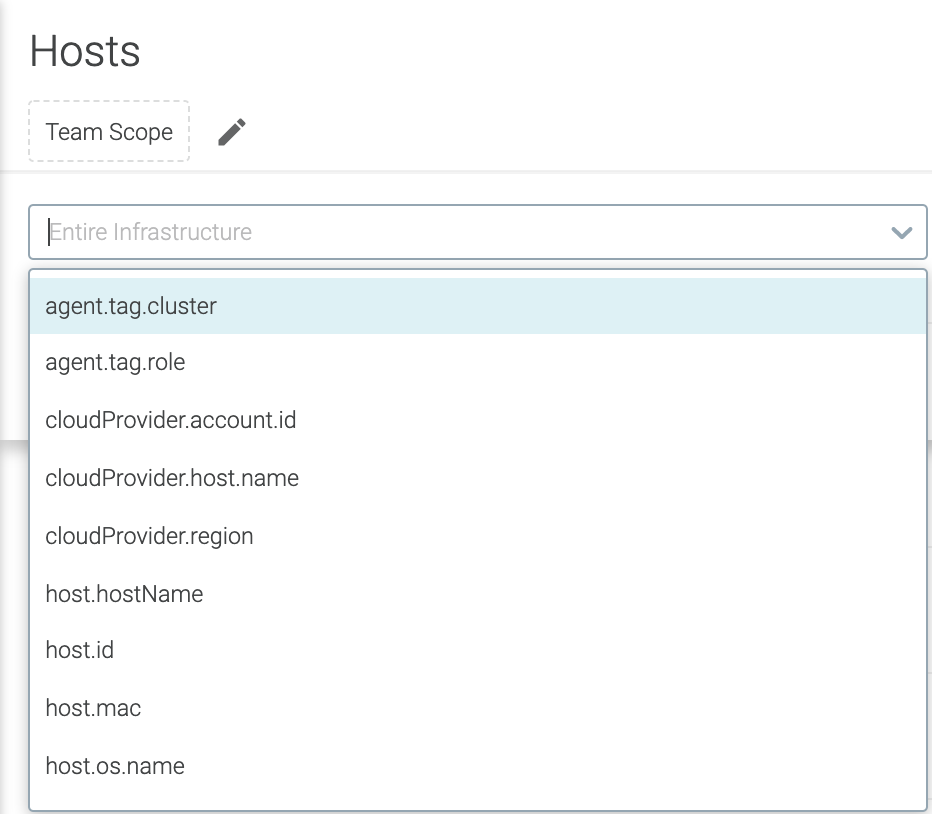
Search Results or Filter by Scope
Purge Disabled Hosts
Review Host Vulnerabilities on the
Host Resultspage.Click to see the runtime scanning results for images on that host
Search Results or Filter by Scope
On the Host Scanning landing page, you can:
Search: by hostname, mac, cluster name
Filter by Team Scope: Your active team scope is applied when viewing Host Scanning results, but you can further narrow down from
Entire Infrastructureusing the scope filters.You can compose a scope filter using various operators (in, not-in, equal, not-equal, etc.).
Then proceed to review the vulnerabilities.
Purge Disabled Hosts
On the Host Scanning list page, click the three dot selector on the far
right to access the Purge Disabled Hosts from Scope button.
Use this feature for hosts that have been removed from your cluster, to ensure they are also removed from the host scan list page.
Review Host Vulnerabilities
There are multiple ways to access the result details:
Select a host (line item) from the landing page, or
Choose
View Vulnerabilitiesfrom the expanded selector at the end of a line item
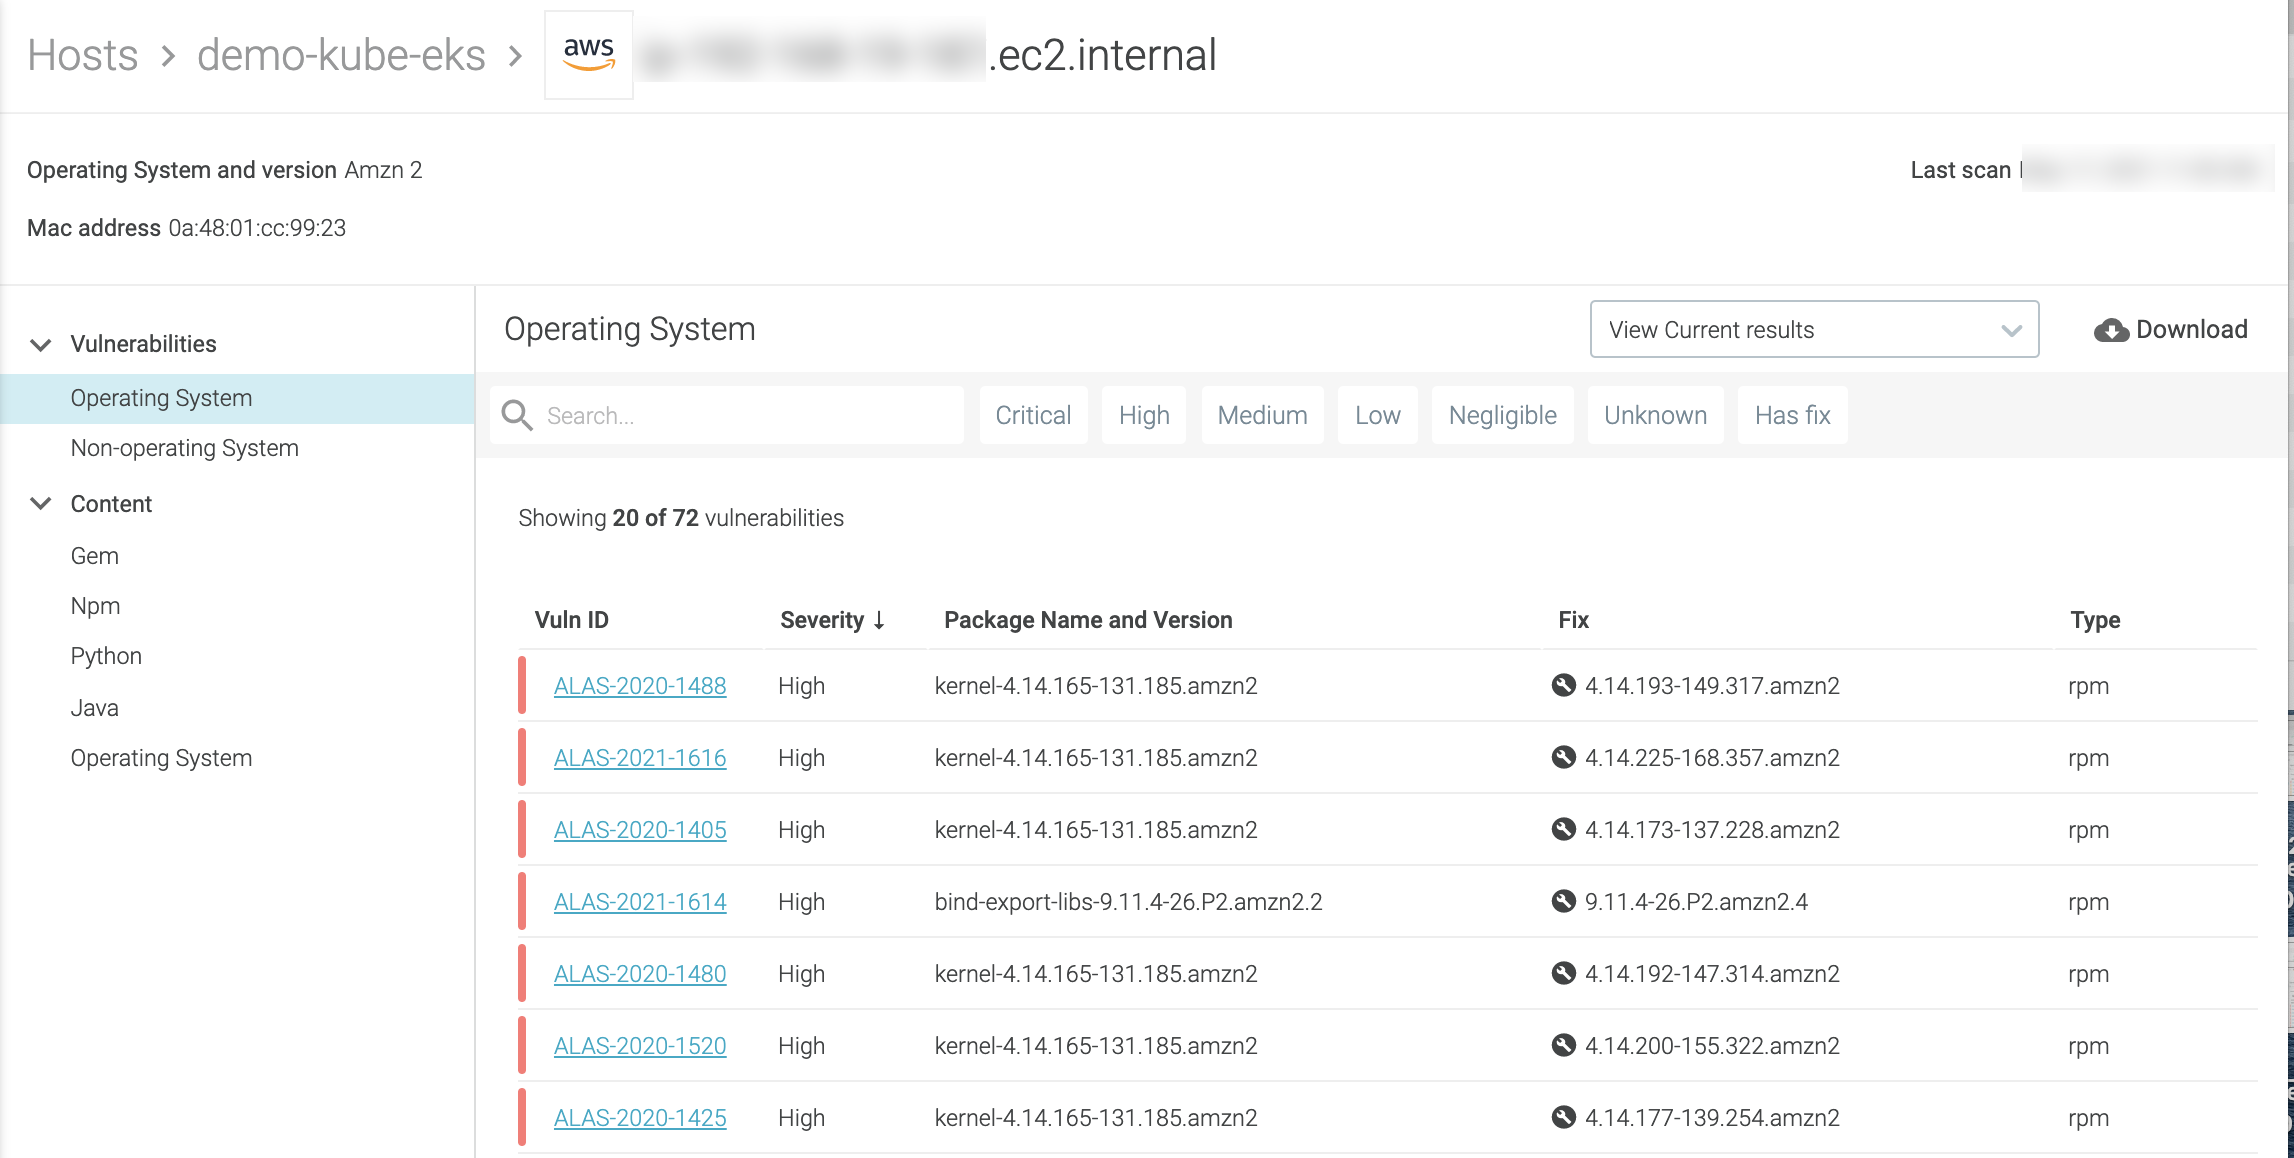
Either choice opens a Host Results page.
From the Host Results page, you can:
Filter by severity and whether the vulnerability has a fix
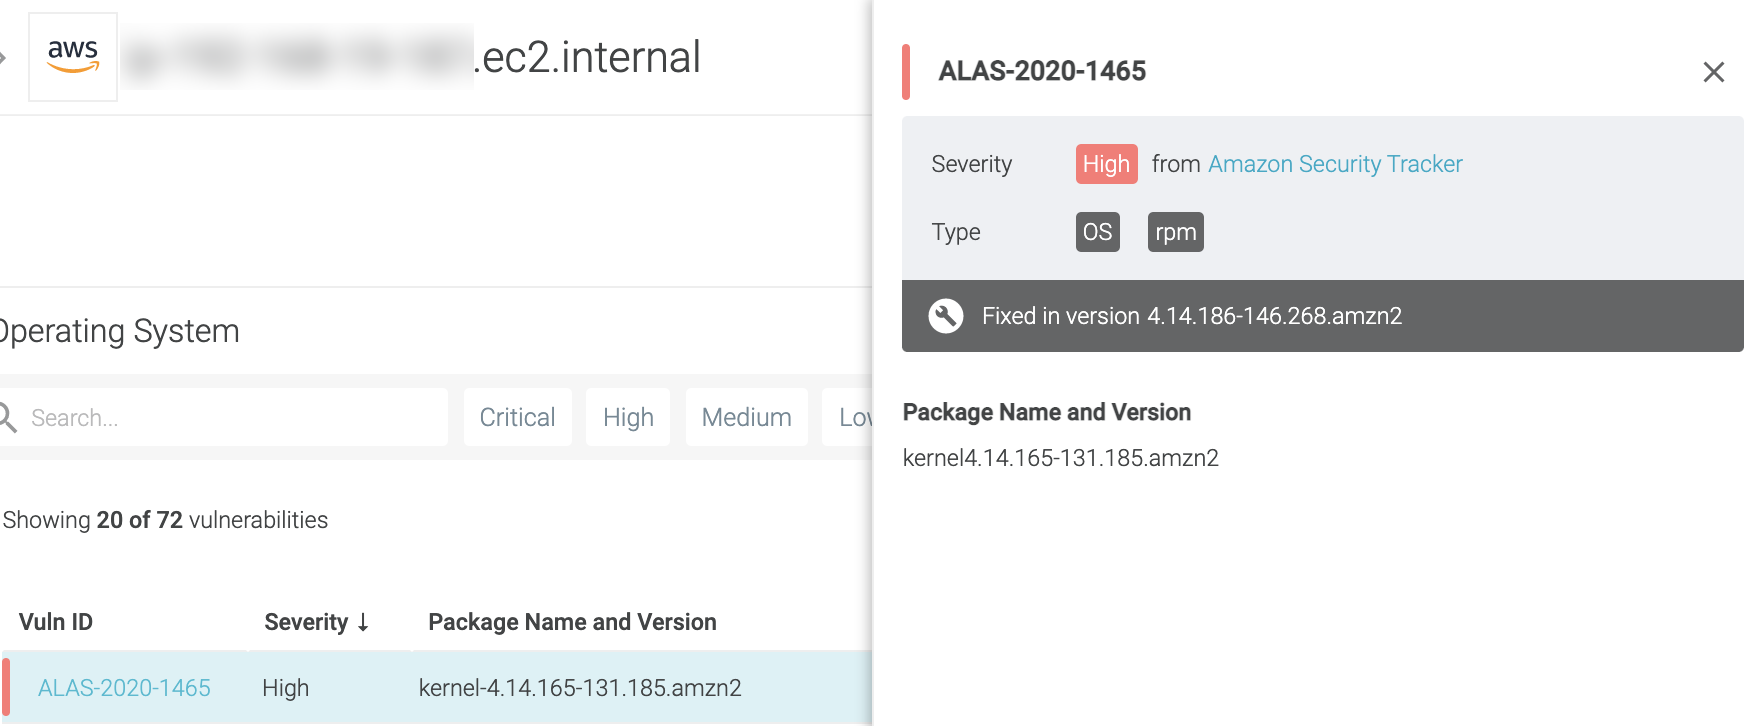
Select a vulnerability to review details and remediation steps in a pull-out
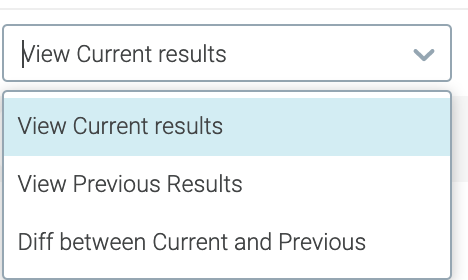
Compare earlier results and/or view the diff
By default, host scans are run every 24 hours, so you can view the
Currentresults, thePrevious(one day ago) results, or theDifferencein findings between the two.If nothing was changed or fixed between the two scans, the findings will look the same. The summary is displayed.
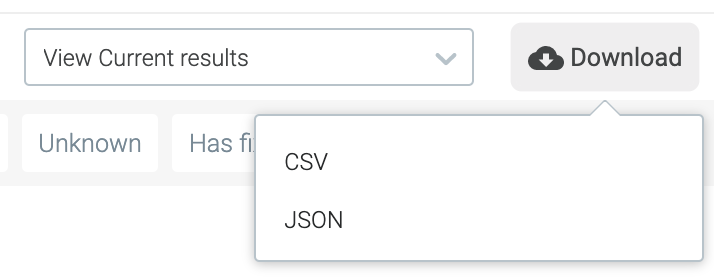
Download report as a CSV or JSON file
See Scanning Results for Containers on the Host
For any given host, you can also check the image scan results of its containers from the Host Scanning landing page.
Select
Scanning > Hosts.Hover over a line item and choose
View Runtime Imagesfrom the far-right selector.The Scanning Results page is displayed, showing the detailed runtime scanning results for the containers on your selected host.
