RabbitMQ
The Sysdig agent automatically collects all metrics with the default
configuration. You may need to edit the dragent.yaml file if a metrics
limit is reached.
This page describes the default configuration settings, how to edit the configuration to collect additional information, the metrics available for integration, and a sample result in the Sysdig Monitor UI.
RabbitMQ Setup
Enable the RabbitMQ management plugin. See RabbitMQ’s documentation to enable it.
Sysdig Agent Configuration
Review how to Edit dragent.yaml to Integrate or Modify Application Checks.
Default Configuration
By default, Sysdig’s dragent.default.yaml uses the following code to
connect with RabbitMQ and collect all metrics.
app_checks:
  - name: rabbitmq
    pattern:
      port: 15672
    conf:
      rabbitmq_api_url: "http://localhost:15672/api/"
      rabbitmq_user: guest
      rabbitmq_pass: guest
The RabbitMQ app check tracks various entities, such as exchanges,
queues and nodes. Each of these entities has its maximum limits. If the
limit is reached, metrics can be controlled by editing the
dragent.yaml file, as in the following examples.
Remember! Never edit dragent.default.yaml directly; always edit
only dragent.yaml.
Example 1: Manage logging_interval
When a maximum limit is exceeded, the app check will log an info message:
rabbitmq: Too many <entity type> (<number of entities>) to fetch and maximum limit is (<configured limit>). You must choose the <entity type> you are interested in by editing the dragent.yaml configuration file |
This message is suppressed by a configuration parameter,
logging_interval.
Its default value is 300 seconds. This can be altered by specifying a
different value in dragent.yaml.
app_checks:
  - name: rabbitmq
    pattern:
      port: 15672
    conf:
      rabbitmq_api_url: "http://localhost:15672/api/"
      rabbitmq_user: guest
      rabbitmq_pass: guest
      logging_interval: 10 # Value in seconds. Default is 300
Example 2: Specify Nodes, Queues, or Exchanges
Each of the tracked RabbitMQ entities has its maximum limits. As of Agent v10.5.1, the default limits are as follows:
Exchanges: 16 per-exchange metrics
Queues: 20 per-queue metrics
Nodes: 9 per-node metrics
The max_detailed_* settings for the RabbitMQ app check do not limit
the reported number of queues, exchanges, and node, but the number of
generated metrics for the objects. For example, a single queue might
report up to 20 metrics, and therefore, set max_detailed_queues to 20
times the actual number of queues.
The metrics for these entities are tagged. If any of these entities are
present but no transactions have occurred for them, the metrics are
still reported with 0 values, though without tags. Therefore, when
segmenting these metrics, the tags will show as unset in the Sysdig
Monitor Explore view. However, all such entities are still counted
against the maximum limits. In such a scenario, you can specify the
entity names for which you want to collect metrics in the dragent.yaml
file.
app_checks:
  - name: rabbitmq
    pattern:
      port: 15672
    conf:
      rabbitmq_api_url: "http://localhost:15672/api/"
      rabbitmq_user: guest
      rabbitmq_pass: guest
      tags: ["queues:<queuename>"]
      nodes:
        - rabbit@localhost
        - rabbit2@domain
      nodes_regexes:
        - bla.*
      queues:
        - queue1
        - queue2
      queues_regexes:
        - thisqueue-.*
        - another_\d+queue
      exchanges:
        - exchange1
        - exchange2
      exchanges_regexes:
        - exchange*
Example 3: Custom tags
Optional tags can be applied to every emitted metric, service check, and/or event.
Names can be specified by exact name or regular expression.
app_checks:
  - name: rabbitmq
    pattern:
      port: 15672
    conf:
      rabbitmq_api_url: "http://localhost:15672/api/"
      rabbitmq_user: guest
      rabbitmq_pass: guest
      tags: ["some_tag:some_value"]
Example 4: filter_by_node
Use filter_by_node: true if you want each node to report information
localized to the node. Without this option, each node reports
cluster-wide info (as presented by RabbitMQ itself). This option makes
it easier to view the metrics in the UI by removing redundant
information reported by individual nodes.
Default: false.
Prerequisite: Sysdig agent v. 92.3 or higher.
app_checks:
  - name: rabbitmq
    pattern:
      port: 15672
    conf:
      rabbitmq_api_url: "http://localhost:15672/api/"
      rabbitmq_user: guest
      rabbitmq_pass: guest
      filter_by_node: true
Metrics Available
See RabbitMQ Metrics.
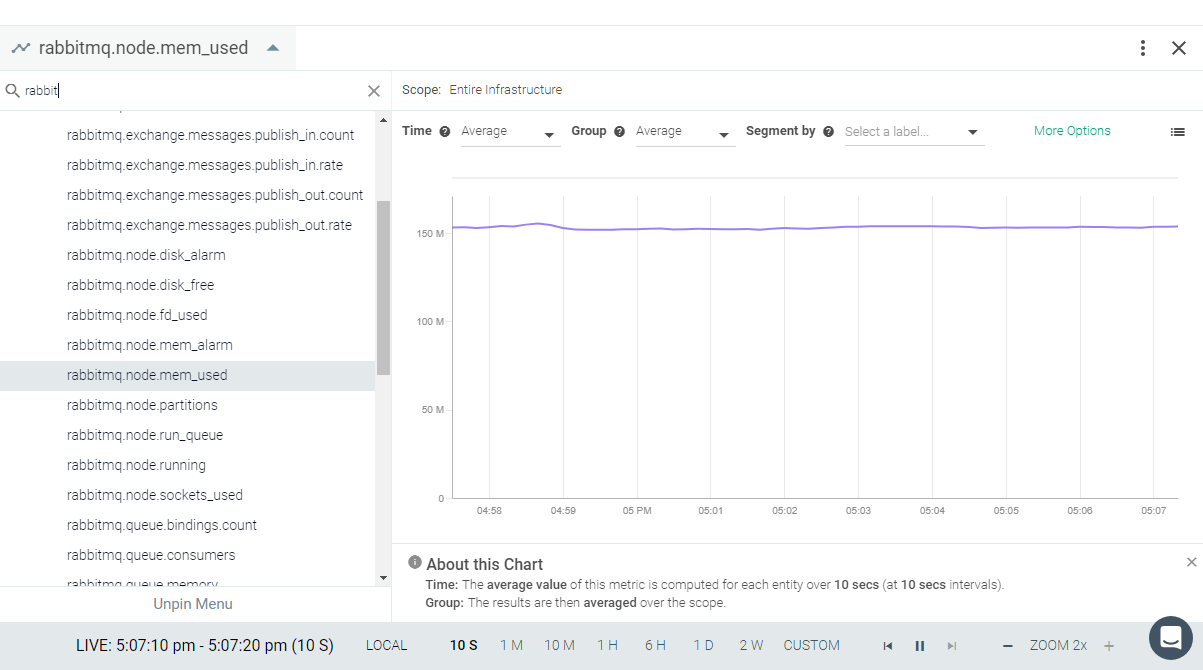
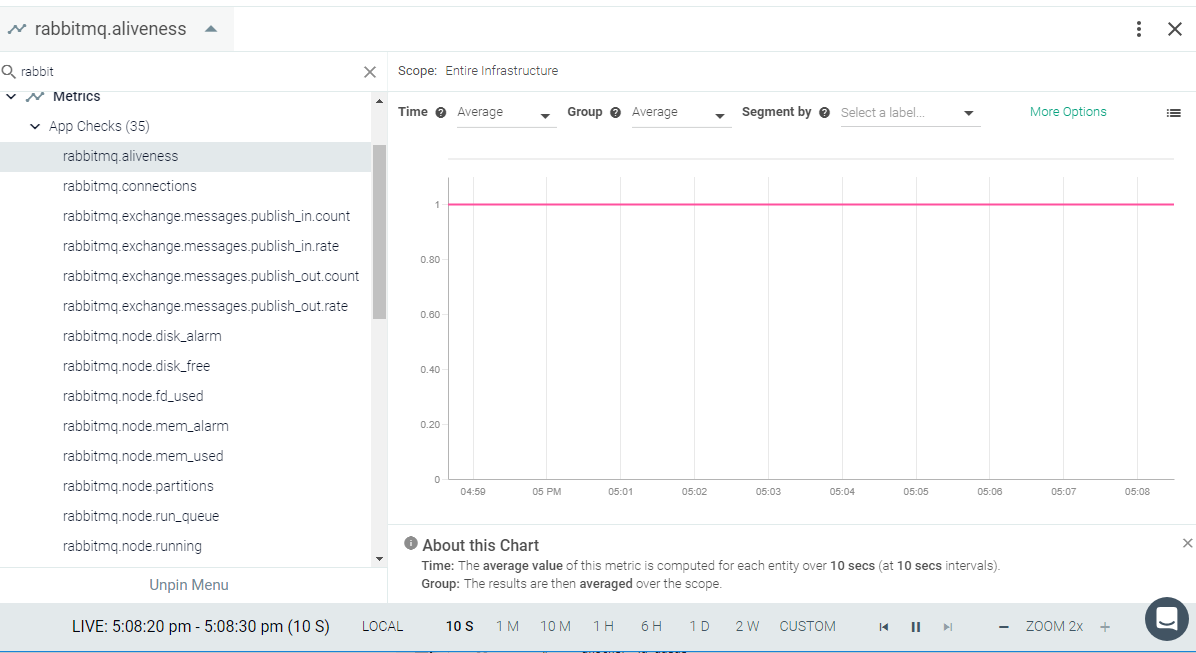
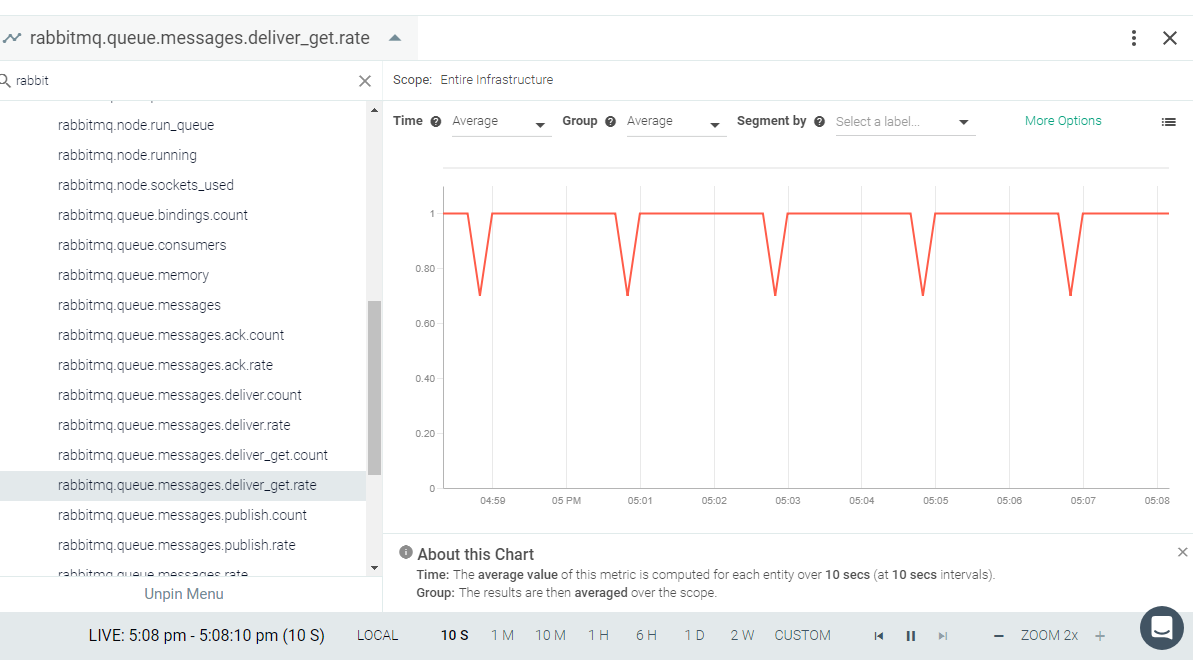
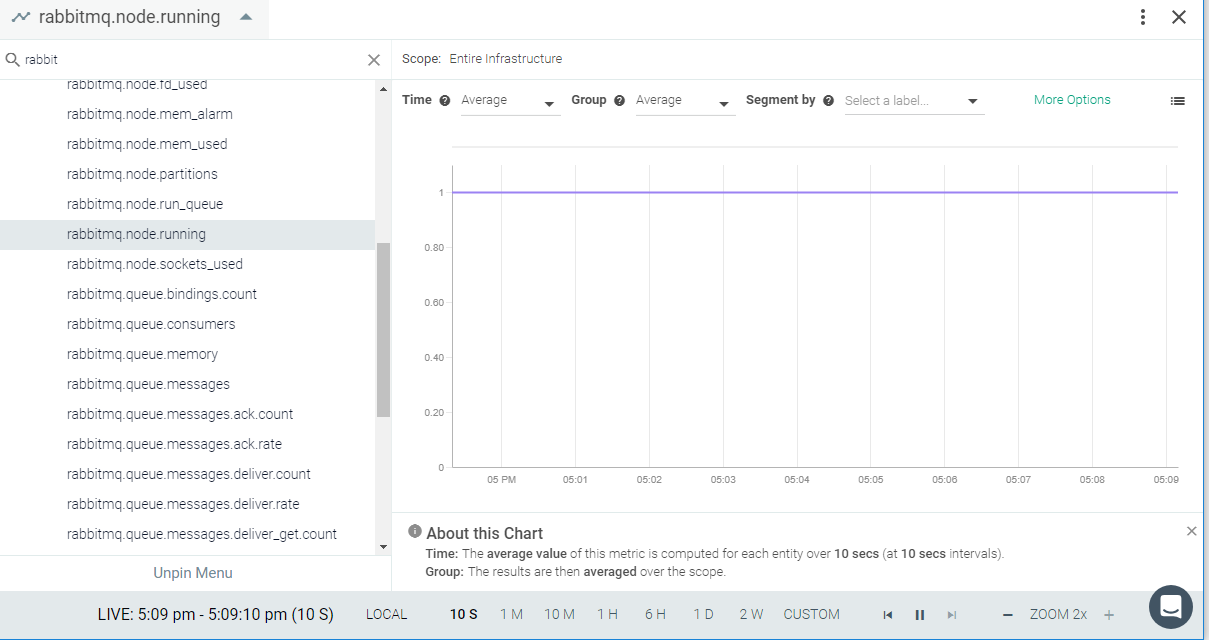
Result in the Monitor UI


