Authentication and Authorization (On-Prem)
This section is for the Sysdig On-Premises software platform only. If you are using SaaS (cloud-based) Sysdig applications, see Authentication and Authorization (SaaS) instead.
Sysdig Monitor and Sysdig Secure are designed to work with several user authentication/authorization methods:
| Type | Enabled by Default | Integration Steps Required |
|---|---|---|
| User email/password | Yes | No |
| Google OAuth | No | Yes |
| SAML | No | Yes |
| OpenID Connect | No | Yes |
| LDAP | No | Yes |
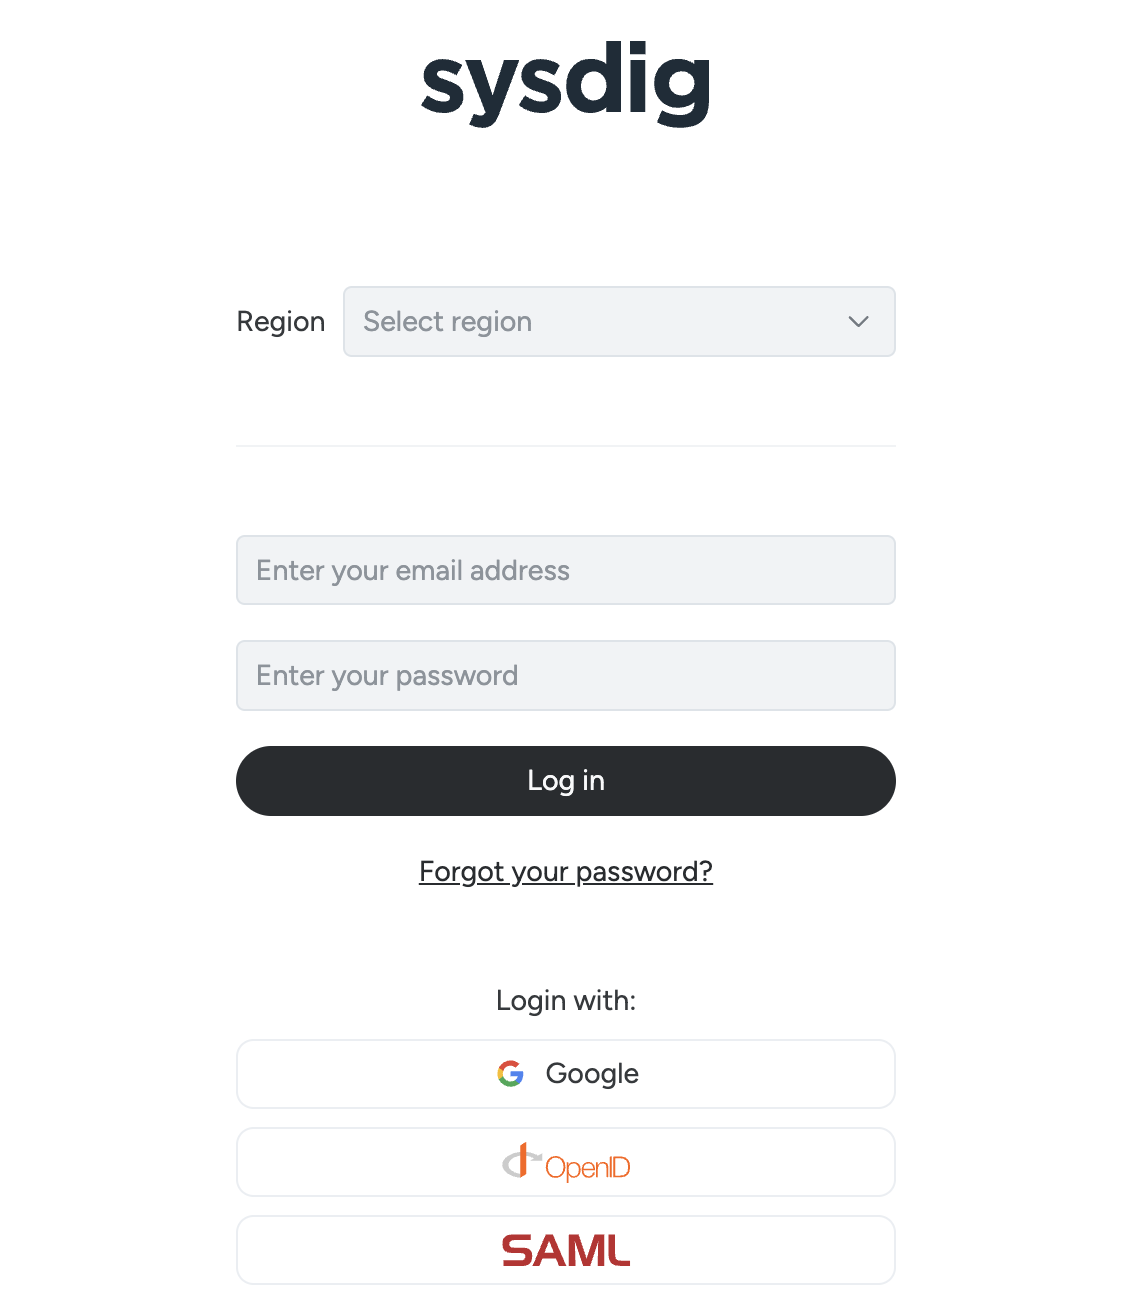
A sample user’s view:

The pages in this section describe the integration and enablement steps required for SAML or OpenID Connect, and the Identity Provider (IdP) services that support these protocols, such as Okta, OneLogin, and Keycloak.
In the SaaS environment, Google)login can be enabled with a simple drop-down selection; the integration has already been performed.
To enable a third-party authentication method for both Sysdig Monitor and Sysdig Secure, you must configure the SSO settings separately for each.
Workflow
To enable a Single Sign-On (SSO) option:
Determine which SSO option, such as GoogleOAuth, SAML, OpenID, or LDAP, your enterprise uses, and which IdP service, such as Okta or OneLogin, is used if any.
Configure any associated IdP settings on the IdP side.
Enter the required connection settings for the chosen SSO on the appropriate Authentication tab in Sysdig Settings.
You can also configure the settings using a script, if preferred.
Select the SSO option from the Enabled Single Sign-On drop-down and click Save Authentication.
If enabling for both Sysdig Monitor and Sysdig Secure, perform the necessary steps on the second application.

View of the Authentication page for SAML.
Feedback
Was this page helpful?
Glad to hear it! Please tell us how we can improve.
Sorry to hear that. Please tell us how we can improve.