Manage Users
Users added in Sysdig Monitor will appear in the full list of users for both Sysdig Monitor and Sysdig Secure if both products are in use. However, users will not have login access to Sysdig Secure until they are added to a Sysdig Secure team.
Prerequisites
Only Admin users can configure user account information.
For on-premises environments, you may need to have pre-configured your SMTP parameters in your Kubernetes installation configmap.
Create a User
Log in to Sysdig Monitor or Sysdig Secure as administrator.
Select Settings from the user menu.
Select Users.
Click Add User.
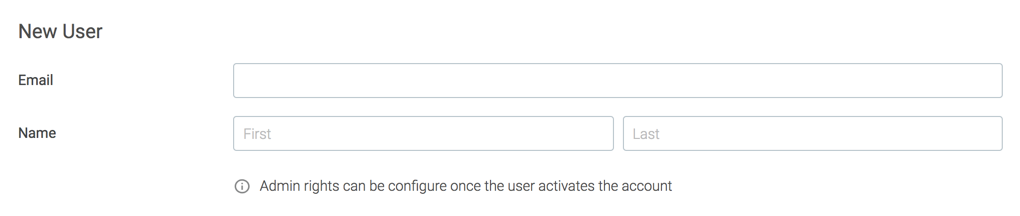
Enter the new user’s email address, first name, and last name:
Click Save to send the user an invitation via email.
The new user appears in the list visible in the Users tab. Their status is listed as Pending until the invitation is accepted.
Edit User Information
Once you have added a user, you can edit their information to assign roles, teams, and permissions.
Admin privileges cannot be assigned until the invitation has been accepted, and the user has logged into the interface for the first time. They can, however, be added to additional teams or have team-based roles assigned. For more information on configuring teams roles, refer to Manage Teams and Roles.
To edit an existing user:
Log in to Sysdig Monitor or Sysdig Secure as administrator and select Settings from the user menu.
Select Users.
Select the user from the table of users.
Optional: Edit the first name / last name.
Optional: Toggle the Admin switch to enable/disable administrator privileges.
Optional: Disable the Authenticator App MFA switch to allow users to login if they lost access to the authenticator app.
You can not enable the MFA for a user. Each user must activate the MFA themselves.
- Click Save to save the changes or Cancel to revert the unsaved changes.
User emails are read-only, and cannot be changed.
Break-Glass scenario
Break-glass scenario implies a situation in which the IdP has stopped processing user requests for whatever reason and you need to regain access to Sysdig.
Sysdig allows you to Disable Password Authentication, while providing the ability to access the system with username and password in a break-glass scenario.
Users with Break-glass account enabled will be able to login using username and password even if Password Authentication is disabled. The prerequisite is to set the password for the account to allow the login.
User Deactivation
Deactivating inactive users is a recommended security practice, aimed at reducing attack surface and the potential for insider threats and privilege escalation. Sysdig Platform Administrators can deactivate and reactivate users manually through the UI or set up automatic deactivation after a defined period of inactivity via API. Inactivity is measured by a lack of interactive access, such as UI logins.
This feature is disabled by default and can only be enabled via the API.
Deactivate and Reactivate Users Manually
As an Admin, you can deactivate and reactivate users manually through the Sysdig UI:
Log in to Sysdig Secure or Monitor as an Admin.
From the user menu in the bottom left corner, navigate to Settings.
Select Users.
Select a user from the users list.
The user configuration page appears.
Toggle User Enabled off to deactivate, and on to reactivate the user.
Select Save to confirm your changes.
Automatically Deactivate Users
Admins can configure Sysdig to automatically deactivate a user after a period of inactivity defined by you via API:
Log in to Sysdig Secure or Monitor as an Admin.
Gather your API bearer token. This is required to execute API calls.
From the user menu in the bottom left corner, select Next Gen API Docs.
In the API documentation, navigate to the User Deactivation section.
User the schema provided to build your payload.
Reactivate a User
To reactivate a user:
- If SSO (either SAML or OIDC) is enabled, the user will be automatically reactivated when using SSO for logging in.
- If SSO is not enabled, the user should contact their Admin.
- To reactive a user as an Admin, see Deactivate and Reactivate Users Manually.
Delete a User
To delete an existing user:
Deleting a user cannot be undone.
Log in to Sysdig Monitor or Sysdig Secure as administrator and select Settings from the user menu. `
Select Users.
Select the user from the table of users.
Click Delete User.
Click Yes, delete to confirm the change.
You can optionally delete the dashboards and artifacts that the user have created.