Amazon SNS Notifications
Support
Amazon SNS Topic Notifications are supported for the following areas:
| Product | Supported Area |
|---|---|
| Secure | Runtime Policies |
| Monitor | Alerts |
AWS Configuration
To configure your AWS to integrate with Sysdig:
Sign into the Amazon SNS Console.
In the left navigation pane, select Topics.
The Topics page appears.
Select Create topic or choose an existing topic from the dropdown list.
The topic configuration page appears.
In the Details section, The topic’s name, Amazon Resource Name (optional), display name, and the topic owner’s AWS account ID are displayed.
In the Details section, enter a name for the topic or select the topic from the list.
Under Type, select Standard.
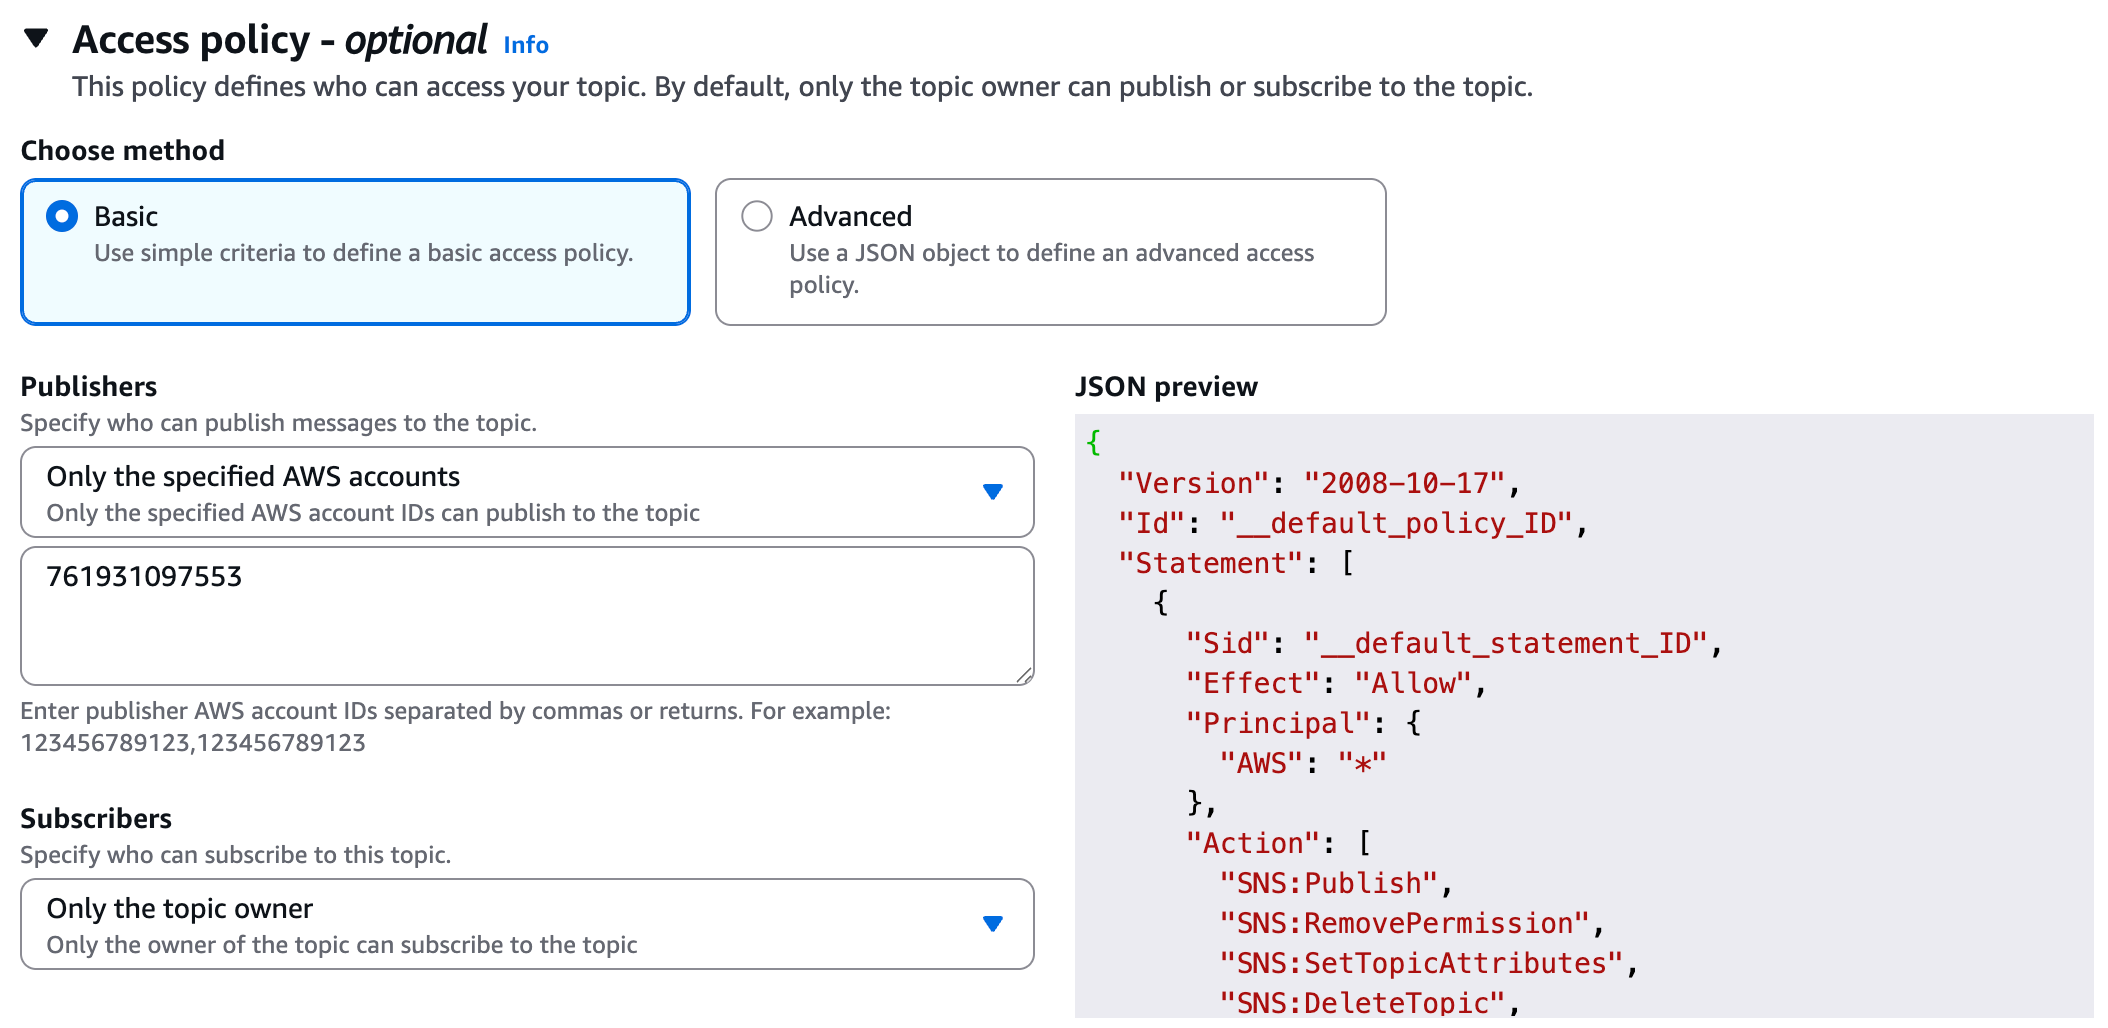
Under Access policy - optional, select Basic.
Under Publishers - Specify who can publish messages to the topic, select Only the specified AWS accounts and enter the appropriate account ID for your Sysdig SaaS region. To find the correct ID, see AWS Account IDs.
When you have completed configuration, select Create topic.
Ensure you subscribe to the created topic.
In the left navigation pane, choose Subscriptions.
On the Create subscription page, enter the Amazon Resource Name (ARN) of the topic you created earlier.
Specify other details and click Create subscription.
For further information about AWS SNS, refer to the AWS documentation.
Sysdig Configuration
Log in to Sysdig Monitor or Sysdig Secure as Administrator.
Select Integrations > Notification Channels.
Click Add Notification Channel +, and select Amazon SNS Topic.
Enter the Topic created on the AWS side, along with a Channel Name.
Toggle the Enablement, and Notification sliders as appropriate.
From Shared With, choose whether to share this notification channel globally (all teams) or to limit visibility to the team you are currently logged in as.
Click Save.